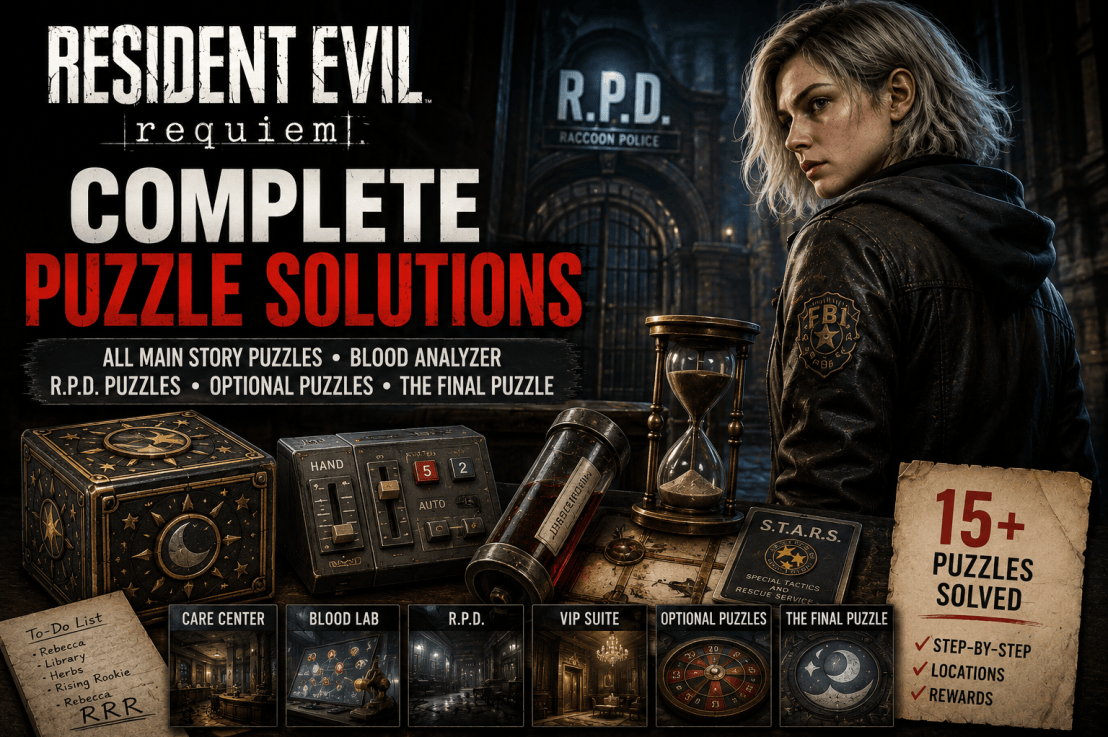
Resident Evil Requiem’s puzzles range from straightforward symbol combinations to Blood Analyzer tests, inventory-based mechanisms, and a post-game secret that took the community days—and some datamining—to fully unravel.
This guide covers the main story puzzles, optional Blood Analyzer puzzles, R.P.D. puzzles, and The Final Puzzle, with the solution, location, required items, and the important details that are easy to miss.
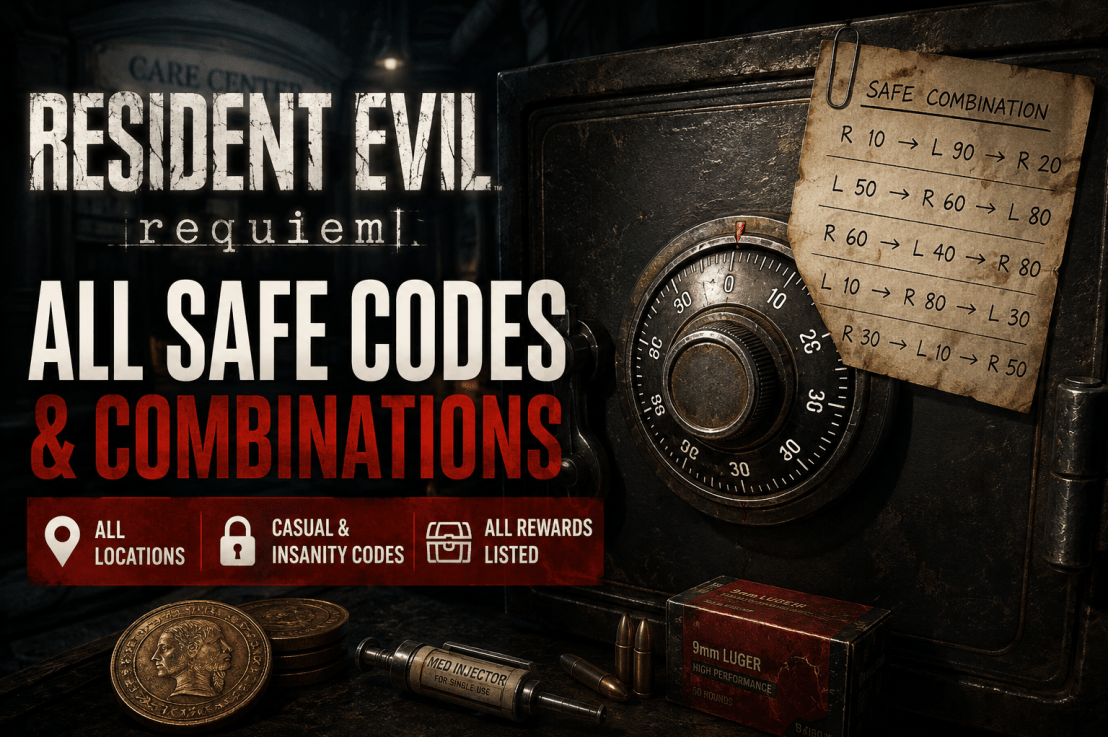
The separate Resident Evil Requiem Safe Codes & Combinations guide covers the game’s five combination safes, including the different Insanity codes. Keeping those in their own article makes it easier to find the exact safe combination without burying the puzzle solutions under another long list.
Spoiler warning: This guide includes story progression, late-game areas, optional puzzles, and the full post-game Final Puzzle sequence.
Resident Evil Requiem Puzzle Solutions: Quick Reference
| Puzzle | Location | Solution / Action | Required? |
|---|---|---|---|
| Chairman’s Office Puzzle Box | Care Center, West Wing | Moon → Sun → Star → Moon | Yes |
| Lead Researcher’s Office Puzzle Box | Care Center, East Wing | Star → Sun → Moon → Sun | Yes |
| Organ Transport Box | Care Center Garage | HAND → middle → 5 → 2 → AUTO | Yes |
| Organless Corpse | Care Center Examination Room | Insert the Artificial Lungs, then Artificial Heart | Yes |
| Denatured Blood | Blood Lab | Left-middle node | Optional |
| Converged Blood | East Wing Closet | Top-middle → second from bottom | Optional |
| Reversible Blood | Blood Lab side room | Bottom-left → center → top-right → second from top | Optional |
| Polymerized Blood | East Wing Closet, Insanity | Middle-left → middle-right → middle-bottom | Optional / Insanity |
| Security Manager’s Office Box | Isolation Ward | Bring Emily to the box | Yes |
| VIP Suite Double Helix | Care Center Courtyard | Open wine bottle, take Helix, insert it | Yes |
| VIP Suite Hourglass | Care Center Courtyard | Inspect and rotate the hourglass | Optional / Final Puzzle |
| R.P.D. S.T.A.R.S. Briefcase | R.P.D. | RRR | Optional |
| Barry’s Scavenger Hunt | R.P.D. | Follow Barry’s clues and open JoJo’s locker | Optional |
| Roulette Wheel | Care Center Parlor | Shoot 29, 15, or 7, then spin to that number | Optional |
| The Final Puzzle | Lead Researcher’s Office | 12-symbol celestial sequence | Post-game |
The core story-puzzle solutions are consistent across current references; Insanity specifically adds the Polymerized Blood specimen, while safe combinations are the major difficulty-based exception.
How Resident Evil Requiem’s Puzzles Work
Most of the game’s puzzles fall into three categories.
Symbol puzzles use the Moon, Sun, and Star symbols and usually involve finding a visual clue somewhere in the room.
Inspection puzzles require you to rotate or examine an object from your inventory or interact with a specific environmental object.
Analyzer puzzles use Grace’s Blood Analysis Machine, where the correct nodes have to be selected in sequence.
The R.P.D. section adds a couple of optional clue chains, while The Final Puzzle is in a completely different category: it spans two playthroughs and was solved through a combination of in-game clues, community research, and datamining.
1. Chairman’s Office Puzzle Box — Moon Quartz
Location: Care Center, West Wing, 2F, Chairman’s Office
Character: Grace
The first Quartz puzzle box is found inside the Chairman’s Office.
To solve it naturally, pick up the Pencil from the back room and use it on the notebook in the office. Shading the page reveals the correct celestial sequence.
Solution
Moon → Sun → Star → Moon
Enter the four symbols in that order.
Reward
Moon Quartz
This is the first of the three Quartz pieces needed for the Care Center progression.
Quick answer
Moon → Sun → Star → Moon
2. Lead Researcher’s Office Puzzle Box — Sun Quartz
Location: Care Center, East Wing, 2F, Lead Researcher’s Office
Character: Grace
The second Quartz box is locked with a padlock.
First, collect the Corrosive from the Conference Room at the end of the nearby hallway. Use it on the padlock, then inspect the photographs around the office. The symbols hidden in the backgrounds provide the combination.
Solution
Star → Sun → Moon → Sun
Reward
Sun Quartz
Quick answer
Star → Sun → Moon → Sun
This is also the puzzle connected to the later Final Puzzle, but that secret sequence is handled separately below.
3. Organ Transport Box — Artificial Lungs
Location: Care Center, West Wing, 1F, Garage
Character: Grace
After obtaining the Level 1 ID Wristband, you can access the Garage and find the Organ Transport Box.
You need to inspect the box from your inventory, then rotate it to expose the control panel on the back.
Solution
- Set the lower-right switch to HAND.
- Move the right-hand slider to the middle position.
- Press Button 5.
- Press Button 2.
- Return the lower-right switch to AUTO.
Quick answer
HAND → Middle → 5 → 2 → AUTO
Reward
Artificial Lungs
You need the Artificial Lungs for the next major puzzle in the Examination Room.
4. Organless Corpse — Artificial Heart
Location: Care Center, Examination Room
Character: Grace
Once you have the Artificial Lungs, return to the corpse in the Examination Room.
This isn’t a conventional code puzzle. The solution is simply to install the artificial organs in the correct order.
Solution
Insert the Artificial Lungs, then the Artificial Heart.
The corpse wakes up after the second organ is installed.
Reward
Defeating the resulting enemy encounter gives you the Level 2 ID Wristband, allowing you to progress deeper into the Care Center. Current puzzle references identify this as a progression puzzle rather than an optional encounter.
5. Blood Analyzer Puzzles
Location: Care Center Blood Lab and related rooms
Character: Grace
The Blood Analyzer is home to several optional puzzles that unlock crafting recipes.
There are three specimens on Casual/Standard, while Insanity introduces a fourth Polymerized specimen in place of the Converged sample at the corresponding location.
The analyzer puzzles are worth doing if you’re building Grace’s crafting options, but they’re not all required to finish the story.
5.1 Denatured Blood Specimen
Location: Blood Lab
Solution
Select the left-middle node.
That’s the only input needed for the Denatured sample.
Reward
The analysis unlocks additional crafting options, including Handgun Ammo and the Hemolytic Injector.
5.2 Converged Blood Specimen
Location: East Wing Closet
Difficulty: Casual/Standard
You’ll reach this sample through the Level 1 door near the Waiting Room.
Solution
Top-middle → second node from the bottom
The sequence is only two selections.
Reward
The analysis unlocks recipes for the Med Injector and 12.7x55mm Ammo.
That ammunition is used by the Requiem revolver, so this is one of the more useful optional analyses if you plan to rely on the weapon.
5.3 Reversible Blood Specimen
Location: Blood Lab side room
Difficulty: All
The Reversible specimen is behind a locked door requiring the appropriate ID Wristband.
Solution
Enter:
Bottom-left → Center → Top-right → Second from top
This is the longest of the standard Blood Analyzer sequences.
Reward
The analysis unlocks the Steroids and Stabilizer recipes.
5.4 Polymerized Blood Specimen — Insanity
Location: East Wing Closet
Difficulty: Insanity only
On Insanity, the usual Converged specimen is replaced with the Polymerized sample.
Solution
Middle-left → Middle-right → Middle-bottom
Three selections solve it.
Reward
The Polymerized analysis unlocks the R.I.P. Knife and additional ammunition-related rewards on Insanity.
6. Security Manager’s Office Puzzle Box
Location: Isolation Ward / Security Manager’s Office
Character: Grace
This one looks like another symbol puzzle, but there isn’t a combination to decode.
Interact with the notebook on the table, then examine the puzzle box. You’ll obtain the Level 3 ID Wristband.
Use it to reach Emily’s cell.
Solution
Bring Emily to the Puzzle Box.
Emily opens it automatically.
That’s the entire puzzle. You do not need to decode the Braille yourself.
Useful tip
You can leave Emily on the couch in the nearby safe room while you clear the surrounding enemies, then bring her to the box once the area is safer. PowerPyx specifically recommends this approach.
7. VIP Suite Double Helix Puzzle
Location: Care Center Courtyard, VIP Suite
Character: Grace
The VIP Suite contains a lectern with two helixes already in place. You need to find the third.
The missing piece is hidden inside a wine bottle near the entrance.
Solution
- Pick up the wine bottle.
- Inspect it from your inventory.
- Rotate it until the hidden Double Helix Model is revealed.
- Take the Helix.
- Insert it into the lectern.
The mechanism then opens the route required for story progression.
Important: the Hourglass is a separate puzzle
The hourglass isn’t needed for the Double Helix solution.
However, it is not simply a useless distraction. The hourglass becomes an important clue in the Final Puzzle chain because rotating it reveals the hidden message “U = 380,000.”
That distinction matters: ignore it for the VIP Suite door, but don’t ignore it if you’re solving the Final Puzzle.
8. Hourglass Puzzle
Location: VIP Suite
Character: Grace
Purpose: Final Puzzle clue
Inspect the hourglass and rotate it.
As the sand moves, a hidden inscription appears:
U = 380,000
That number is part of the celestial-distance clue chain used to decode The Final Puzzle.
This isn’t a standalone progression puzzle, so you can leave it alone during a normal run.
9. R.P.D. S.T.A.R.S. Briefcase
Location: R.P.D., S.T.A.R.S. Office
Character: Leon
The R.P.D. contains an optional briefcase puzzle whose solution is:
RRR
The clues begin with Barry’s To-Do List.
Follow the chain through the Captain’s Office and Library until you inspect the relevant photograph inside the Medicinal Benefits of Herbs book. The clue points to Rebecca, the “rising rookie,” giving you RRR as the combination.
Solution
R → R → R
Reward
Power Shades Charm
This is one of the game’s better optional R.P.D. rewards, so it’s worth solving if you’re already exploring the station.
10. Barry’s Scavenger Hunt
Location: R.P.D.
Character: Leon
The scavenger-hunt puzzle is separate from the S.T.A.R.S. briefcase, even though both are connected to Barry’s clues.
Follow the messages and inspect the TV in the Operations Room.
You’ll eventually obtain JoJo’s Locker Key.
Take the key to JoJo’s Locker in the West Office.
Reward
S.T.A.R.S. Emblem Charm
The important thing here is simply not to confuse this with the RRR briefcase. They’re two different optional puzzle chains.
11. Roulette Wheel Puzzle
Location: Care Center, Parlor
Character: Grace
The Parlor contains a roulette table with a small optional challenge.
Solution
Shoot one of these numbers:
29, 15, or 7
Then interact with the wheel and spin it until it lands on the number you shot.
Reward
1 Antique Coin
The reward is only granted once.
A manual save beforehand is useful if you’re short on ammunition and don’t want to spend rounds repeatedly experimenting with the wheel.
12. The Final Puzzle
Location: Lead Researcher’s Office
Character: Grace
Availability: After completing the game once
The Final Puzzle is optional and is not required for the story or a trophy/achievement.
It rewards:
20,000 CP
What makes it unusual is how it was discovered. The game’s clues were pieced together through player investigation and datamining, and the complete procedure was later reproduced without mods on console. VGC describes it as a multi-step challenge involving the Processing Room, the Hourglass, Blood Analysis clues, Marie’s Doll, and the Lead Researcher’s Office puzzle box.
The Final Puzzle code
Once the setup is complete, the final sequence is:
Sun → Sun → Star → Sun → Moon → Star → Sun → Moon → Sun → Moon → Star → Moon
Entering this sequence in the Lead Researcher’s Office puzzle box completes the challenge—provided Emily is with you and Marie’s Doll is in your inventory.
Step 1: Reach the Processing Room
On your first playthrough, progress through the Care Center Basement until you reach the Processing Room.
PowerPyx’s current procedure says to allow 115 bodies to fall into the bloodied water before draining it. VGC’s reproduced procedure instead establishes the trigger by waiting 15 minutes in the Processing Room before draining the water. Both sources agree on the broader requirement: this is a hidden timed/flag-based trigger rather than an ordinary puzzle instruction.
For a practical guide, I’d use the reproducible method:
- Enter the Processing Room.
- Make a manual save.
- Wait approximately 15 minutes before draining the water.
- Drain the water.
- Proceed through the grinder section.
- Do not personally kill the zombies during the grinder sequence.
VGC confirms this procedure can be reproduced on console without mods.
Step 2: Complete the grinder section correctly
After draining the water, continue through the grinder section.
The important condition is that the zombies must be killed by the grinder, not by Grace.
If you accidentally kill one yourself, reload your earlier Processing Room save and repeat the sequence.
PowerPyx also documents a later blood-pool confirmation message indicating the trigger worked correctly.
Step 3: Flush the toilet eight times
Continue through the Care Center until you’re back in Central Hall with Emily.
Take Emily to the Restroom in the West Wing, accessed from the corridor between the Kitchen and Dining Room.
Flush the same toilet eight times.
There is no obvious confirmation message, so count carefully. VGC and PowerPyx both document the eight-flush requirement.
Step 4: Find Marie’s Doll
Continue through the Courtyard Lab section.
During the escape sequence, look for Marie’s Doll on the stairs shortly before Grace’s panic-run sequence.
Collect the doll and finish the game.
This is important because the doll carries over to your next run.
Step 5: Start a new playthrough
Begin another run.
When you reach the Care Center as Grace, Marie’s Doll will be available in her Item Box if you’ve completed the setup correctly.
Continue until you have access to Emily again.
Step 6: Return to the Lead Researcher’s Office
During the second run:
- Progress through the Care Center.
- Obtain the Level 3 ID Wristband.
- Free Emily.
- Make sure Marie’s Doll is in your inventory.
- Carry Emily to the Lead Researcher’s Office.
- Interact with the Quartz Puzzle Box.
The Severed Hand is not required in your inventory for this final interaction, although its Blood Analyzer message is part of the clue chain that helped the community decode the celestial sequence. VGC explicitly notes that the hand is not required for the final step.
Step 7: Enter the Final Puzzle sequence
Input:
Sun → Sun → Star → Sun → Moon → Star → Sun → Moon → Sun → Moon → Star → Moon
If you’ve completed the hidden setup correctly, a laugh will play and the Final Puzzle challenge will be completed.
Where did the 12-symbol sequence come from?
The community discovered that the Blood Analyzer’s Severed Hand sequence:
GGC AAG AUA ACG UGU CAU
can be translated through the protein sequence into GLITCH.
Additional clues hidden in the game’s files and objects connect:
- G = 150,000,000
- U = 380,000
- C = 4.2 ly
Those values point toward celestial distances, which form the basis of the Sun/Moon/Star substitution. The resulting sequence is the 12-symbol input shown above.
This is worth including because it explains why the Final Puzzle has that strange solution instead of simply dumping the code on the reader.
Do Puzzle Solutions Change on Insanity?
For the standard story puzzles, no.
The Chairman’s Office, Lead Researcher’s Office, Organ Transport Box, Security Manager’s Office, and VIP Suite puzzles use the same solutions.
The major puzzle-related Insanity difference is the Blood Analyzer, where the Polymerized specimen appears in place of the standard Converged setup.
Safe combinations are also different on Insanity, but those are covered separately in our Resident Evil Requiem Safe Codes & Combinations guide.
Which Puzzles Are Required?
For the main story, the puzzles you need to solve are:
- Chairman’s Office Puzzle Box
- Lead Researcher’s Office Puzzle Box
- Organ Transport Box
- Organless Corpse
- Security Manager’s Office interaction
- VIP Suite Double Helix
The following are optional:
- Blood Analyzer specimens
- Hourglass clue
- R.P.D. S.T.A.R.S. Briefcase
- Barry’s Scavenger Hunt
- Roulette Wheel
- The Final Puzzle
That distinction is useful if you’re simply trying to finish the game without spending time on optional rewards.
Quick Puzzle Cheat Sheet
Main Story
Chairman’s Office:
Moon → Sun → Star → Moon
Lead Researcher’s Office:
Star → Sun → Moon → Sun
Organ Transport Box:
HAND → Middle → 5 → 2 → AUTO
Organless Corpse:
Artificial Lungs → Artificial Heart
Security Manager’s Office:
Bring Emily to the box
VIP Suite:
Open wine bottle → collect Double Helix → insert into lectern
Blood Analyzer
Denatured:
Left-middle
Converged:
Top-middle → second from bottom
Reversible:
Bottom-left → center → top-right → second from top
Polymerized:
Middle-left → middle-right → middle-bottom
R.P.D. / Optional
S.T.A.R.S. Briefcase:
RRR
Barry’s Scavenger Hunt:
Operations Room TV → JoJo’s Locker Key → West Office locker
Roulette:
Shoot 29, 15, or 7 → spin to that number
Final Puzzle
Sun → Sun → Star → Sun → Moon → Star → Sun → Moon → Sun → Moon → Star → Moon
Resident Evil Requiem Puzzle Tips
The safest way to handle Requiem’s puzzles is to read the room before assuming everything is a combination.
The first two Quartz boxes genuinely require symbol solutions. The Security Manager’s Office box does not. The Organ Transport Box is solved through inventory inspection. The Blood Analyzer is based on selecting nodes in sequence. The R.P.D. adds clue chains rather than conventional lock puzzles.
And then there’s the Final Puzzle, which is deliberately obscure and spans multiple runs.
If you are following a first playthrough, don’t worry about solving every optional puzzle immediately. The Blood Analyzer rewards are useful, but you can finish the story without completing every specimen. Likewise, the R.P.D. puzzles and Roulette Wheel can wait if you are more interested in progression.
For completionists, however, I’d save the Final Puzzle for a dedicated run. Its hidden setup is too specific to casually stumble through, and having the procedure written down makes the two-playthrough requirement much less frustrating.
Related Resident Evil Requiem Guides
Resident Evil Requiem: All Safe Codes & Combinations
For every safe location, Standard/Casual combination, Insanity combination, and reward.
Resident Evil Requiem: All Weapons & How to Unlock Them
For story weapons, hidden pickups, Supply Box firearms, and Special Content unlocks.
Resident Evil Requiem: All Mr. Raccoon Locations
For the full 25-Raccoon checklist and the Advanced Tuning reward.
Resident Evil Requiem: Puzzles, Safe Codes & Weapons Guide
Our broader Requiem hub covering the game’s main puzzle, weapon, and safe-code topics.
Sources & Updates
Last reviewed: September 2026
Puzzle solutions and progression details were cross-checked against current Resident Evil Requiem references, including PowerPyx, VGC, Game8, and current community documentation. The main story puzzles were compared across multiple current references, while the Final Puzzle was checked against both PowerPyx and VGC’s reproduced procedures.
How we verify: Straightforward story puzzles are presented where current references agree. When a puzzle has an unusual or disputed interpretation, the guide explains the actual player action instead of forcing a potentially misleading classification. The Final Puzzle is explicitly identified as a community-discovered, datamining-assisted solution, rather than presenting that sequence as an obvious in-game clue.