
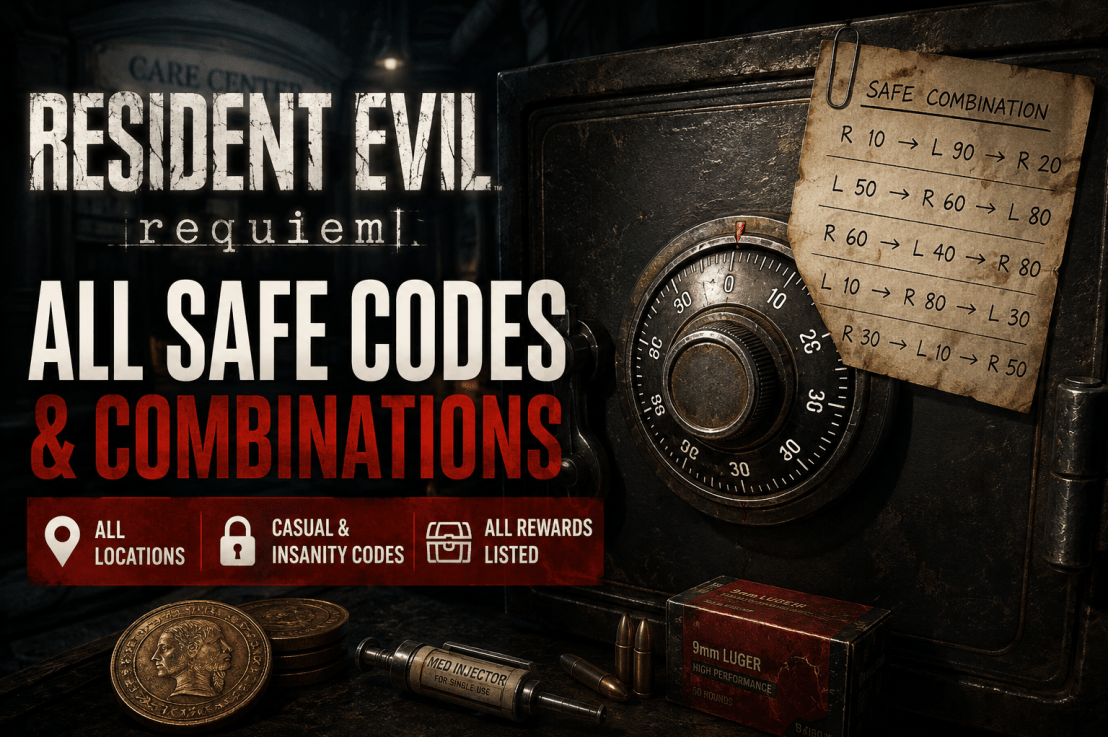
Resident Evil Requiem: All Safe Codes & Combinations
Resident Evil Requiem has five combination safes that count toward the No Safe Is Safe trophy/achievement. Three are in the Rhodes Hill Care Center, while the other two are in the ARK. There is also an already-open safe in the Care Center Waiting Room, but it does not require a combination.
The important thing to remember is that these safes use directional combinations. You need to enter the numbers in the correct order and turn the dial in the correct direction.
Resident Evil Requiem Safe Codes: Quick Reference
| Safe | Location | Casual / Standard | Insanity |
|---|---|---|---|
| Bar & Lounge | Care Center, West Wing | Left 10 → Right 80 → Left 30 | Right 20 → Left 50 → Right 30 |
| Examination Room | Care Center, East Wing | Right 30 → Left 10 → Right 50 | Left 50 → Right 30 → Left 90 |
| Basement / Furnace | Care Center Basement | Right 60 → Left 40 → Right 80 | Left 70 → Right 50 → Left 20 |
| Sterilization Chamber | ARK | Right 10 → Left 90 → Right 20 | Left 80 → Right 50 → Left 0 |
| Monitor Control Room | ARK | Left 50 → Right 60 → Left 80 | Right 20 → Left 0 → Right 70 |
These combinations are consistent with current Resident Evil Requiem guides from VGC and PowerPyx.
Looking for the other major puzzles and weapon information? See our Resident Evil Requiem Puzzles, Safe Codes & Weapons Guide.
How Safe Combinations Work
Resident Evil Requiem does not use ordinary three-digit keypad codes. Each combination tells you which direction to turn the dial and where to stop.
For example:
Right 30 → Left 10 → Right 50
Enter the first number while turning in the Right direction, reverse direction for the second number, then reverse again for the third.
The directional input is part of the combination. Knowing the three numbers alone is not enough.
You also do not need to find the clue first. Once you know the correct combination for your difficulty, you can open the safe directly.
1. Bar & Lounge Safe
Location
The first combination safe is in the Bar & Lounge in the Care Center, West Wing, 2F — Bar & Lounge, behind the bar.
Likewise: Care Center, East Wing, 1F — Examination Room
There are enemies in the area, so you may want to deal with them before stopping at the safe.
Casual / Standard
Left 10 → Right 80 → Left 30
Insanity
Right 20 → Left 50 → Right 30
Reward
The safe contains 3 Antique Coins. The coins can be spent at the Parlor on upgrades.
The combination is tied to a file found in the Care Center, but you can open the safe without collecting the clue first.
Location → code → reward → useful clue/location detail
2. Examination Room Safe
Location
The second safe is in the Examination Room in the Care Center’s East Wing.
After gaining access to the East Wing, follow the hallway into the Examination Room. The safe is along the wall inside the room.
Casual / Standard
Right 30 → Left 10 → Right 50
Insanity
Left 50 → Right 30 → Left 90
Reward
You will find 3 Antique Coins inside.
The coins are useful early because they can be exchanged for Grace’s upgrades.
3. Waiting Room Safe
This one is easy to confuse with the five combination safes because it is presented as another safe in several guides.
The safe behind the desk in the Care Center Waiting Room is already open.
There is no combination to enter.
Reward
2 Antique Coins.
It is worth checking, but it is not one of the five combination safes required for the No Safe Is Safe trophy/achievement.
4. Basement / Furnace Safe
Location
The fourth safe is in the Care Center Basement, in the side room beyond the Furnace/Workshop area.
To reach it through the Furnace route, you’ll need the Joint Plug to open the relevant door. There is also an alternate route through the Workshop’s crawl space.
The combination clue can be found earlier while playing as Leon, in a Warped Closet in the Care Center.
Casual / Standard
Right 60 → Left 40 → Right 80
Insanity
Left 70 → Right 50 → Left 20
Reward
The safe contains:
- Raccoon Roundup Map (Rhodes Hill)
- 10 Handgun Ammo
The map marks the Mr. Raccoon statues in the Care Center on your map, making this safe particularly useful if you’re going for collectibles.
5. Sterilization Chamber Safe
Location
The next safe is in the Sterilization Chamber of the ARK.
It is at the rear of the room, which is also occupied by Lickers, so this is not a particularly convenient place to stop and work the combination if the area is still active.
The clue for the safe can be found later in Bioweapon Repository 05.
Casual / Standard
Right 10 → Left 90 → Right 20
Insanity
Left 80 → Right 50 → Left 0
Reward
Inside you’ll find:
- 1 Med Injector
- 15 Handgun Ammo
- 1 Molotov Cocktail
These supplies can be useful for the ARK section, particularly if you’re short on healing or ammunition.
6. Monitor Control Room Safe
Location
The final combination safe is in the Monitor Control Room in the ARK, next to the ARK Lobby.
The combination clue is found in Bioweapon Repository 05.
Casual / Standard
Left 50 → Right 60 → Left 80
Insanity
Right 20 → Left 0 → Right 70
Reward
The safe contains:
- 1 Med Injector
- 1 Bottle of Acid
- 1 Empty Bottle
The Acid can be useful against the Lickers in this part of the game.
All Insanity Safe Codes
Playing on Insanity? These are the five combinations you need:
Bar & Lounge
Right 20 → Left 50 → Right 30
Examination Room
Left 50 → Right 30 → Left 90
Basement / Furnace
Left 70 → Right 50 → Left 20
Sterilization Chamber
Left 80 → Right 50 → Left 0
Monitor Control Room
Right 20 → Left 0 → Right 70
The safe locations do not change on Insanity, but the combinations do. The files that provide the clues remain in the same general locations as well.
Do You Need to Find the Safe Clues?
No.
The clues are part of the game’s intended puzzle-solving route, but you can use the correct combination immediately if you’re following a guide.
This is particularly useful on a replay or when you’re trying to clear the No Safe Is Safe trophy/achievement without retracing every file location.
How Many Safes Are in Resident Evil Requiem?
There are five locked combination safes that you need to open for the safe-related trophy/achievement:
- Bar & Lounge
- Examination Room
- Basement / Furnace
- Sterilization Chamber
- Monitor Control Room
There is also an already-open safe in the Waiting Room containing 2 Antique Coins. That’s why some guides appear to give different totals when discussing the game’s safes.
No Safe Is Safe Trophy/Achievement
Opening all five combination safes unlocks No Safe Is Safe.
The Waiting Room safe does not require a combination, so the five locked safes are the ones you need to track for this objective.
Resident Evil Requiem Safe Code Cheat Sheet
For a quick reference during a playthrough:
| Location | Casual / Standard | Insanity |
|---|---|---|
| Bar & Lounge | L10 → R80 → L30 | R20 → L50 → R30 |
| Examination Room | R30 → L10 → R50 | L50 → R30 → L90 |
| Basement / Furnace | R60 → L40 → R80 | L70 → R50 → L20 |
| Sterilization Chamber | R10 → L90 → R20 | L80 → R50 → L0 |
| Monitor Control Room | L50 → R60 → L80 | R20 → L0 → R70 |
L = Left
R = Right
Sources & Updates
Last verified: August 2026
The safe locations, combinations, rewards, and Insanity-mode differences in this guide were cross-checked against multiple current Resident Evil Requiem references, including VGC, PowerPyx, Game8, Shacknews, and Push Square. Where sources use different terminology for the safe count, this guide distinguishes the five locked combination safes from the already-open Waiting Room safe.
Related Resident Evil Requiem Guides
- Resident Evil Requiem: All Puzzle Solutions
- Resident Evil Requiem: All Weapons & How to Unlock Them
- Resident Evil Requiem: All Mr. Raccoon Locations
- Resident Evil Requiem: Complete Walkthrough
- Resident Evil Requiem: All Endings & How to Unlock Them
- Resident Evil Requiem Guide: All Puzzle Solutions, Safe Codes & Weapons
 Gaming Guides, Builds, Loot & Strategies