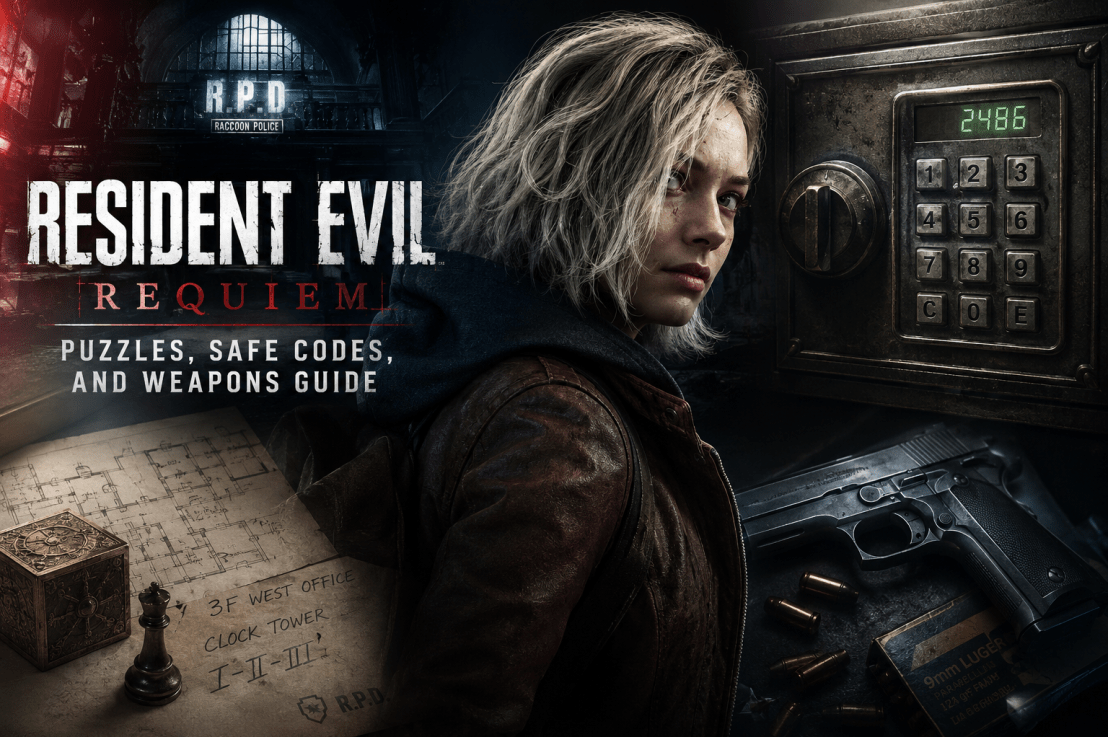
Capcom’s Resident Evil Requiem delivers a masterclass in dual-protagonist survival horror. Navigating the Rhodes Hill Chronic Care Center and surrounding ruins requires balancing resource-conscious stealth as FBI analyst Grace Ashcroft with high-octane combat efficiency as Leon S. Kennedy.
Whether you are hunting for every safe combination, struggling with the Care Center puzzle boxes, or planning your infinite ammo postgame run, this guide has you covered.
🧩 Key Story Puzzles & Solutions
Progression in Requiem heavily depends on environmental clues. If you’re stuck on key story roadblocks, here are the step-by-step solutions:
1. Care Center Celestial Puzzle Boxes (Quartz Keys)
To unlock the Central Relief Door in the Rhodes Hill Main Hall, Grace must retrieve three Quartz Keys from celestial puzzle boxes hidden across the facility.
- Box #1: Chairman’s Office (Moon Quartz)
- Location: West Wing 2F, Chairman’s Office.
- Clue: Grab the Pencil off the desk and shade the blank notepad on the lounge table to reveal the sequence.
- Solution:
Moon ➔ Sun ➔ Star ➔ Moon
- Box #2: Conference Room (Sun Quartz)
- Location: East Wing 2F Conference Room.
- Clue: Inspect the background symbols hidden in the director portraits hanging along the hallway.
- Solution:
Star ➔ Sun ➔ Moon ➔ Sun
- Box #3: Resident Evil Requiem Puzzle Box #3: Star Quartz Solution
The third and final Puzzle Box is located in the Security Manager’s Office in the East Wing. You’ll need a Level 2 ID Wristband to reach the area.
Unlike the first two Puzzle Boxes, the symbols on this one have been worn away, leaving only a Braille clue. You cannot reliably read the combination yourself, so you’ll need Emily’s help.
How to solve Puzzle Box #3
- Reach the Security Manager’s Office after obtaining the Level 2 ID Wristband.
- Examine the Puzzle Box and the notebook on the Security Manager’s desk.
- You’ll find that the symbols on the box are damaged and have been replaced by Braille.
- Obtain access to Emily and bring her to the Puzzle Box.
- Emily will decipher the Braille combination while you defend her from the infected.
- Enter the following sequence:
Star → Star → Moon → Sun
- Completing the puzzle awards the Star Quartz, the final Quartz needed to unlock the Central Hall door.
Puzzle Box #3 solution
⭐ Star → ⭐ Star → 🌙 Moon → ☀️ Sun
Quick answer: Star – Star – Moon – Sun
The Star Quartz completes the set of three Quartz items needed to progress through the Rhodes Hill Care Center.
2. All Safe Combinations (Standard vs. Insanity)
Safes contain critical inventory upgrades, weapon attachments, and rare crafting materials. Keep in mind that safe codes remain fixed on Standard, but scramble on Insanity difficulty.
| Safe Location | Standard Code | Insanity Code | Key Contents |
|---|---|---|---|
| Care Center 1F West Restroom | 09 ➔ 18 ➔ 27 | 12 ➔ 34 ➔ 08 | Hip Pouch (+2 Inventory Slots) |
| Blood Lab (East Wing 2F) | 31 ➔ 05 ➔ 14 | 22 ➔ 19 ➔ 41 | Injector Upgrade |
| Sanatorium Basement Office | 04 ➔ 22 ➔ 11 | 08 ➔ 15 ➔ 30 | Requiem Revolver Ammo / High-Grade Scrap |
| Records Room (Raccoon Ruins) | 10 ➔ 04 ➔ 28 | 03 ➔ 21 ➔ 19 | Matilda Handgun Extended Mag |
Looking for every safe combination?
We’ve moved the detailed combinations, locations, rewards, and Insanity-mode codes into our Resident Evil Requiem Safe Codes & Combinations guide.
3. Blood Specimen Analyzer Sequence
In the East Wing Blood Lab, Grace must align blood samples to synthesize the Polymerized Compound needed to dissolve bio-locks.
- Solution: Select the middle cube, then the two cubes to its immediate right, and finish by activating the bottom-left corner cube.
🔫 Weapons Loadout & Priority Upgrades
Leon and Grace utilize completely distinct loadouts that match their survival philosophies. Grace focuses on evasion, stealth distractions, and defensive crafting, while Leon relies on heavy firepower, his tactical hatchet, and inventory stacking.
Grace’s Survival Arsenal
- Glass Bottles & Lighter: Essential for throwing distractions to slip past mutated threats or luring enemies into lighted environmental traps.
- Hemolytic Injector: Craftable once reaching the East Wing. Essential for neutralizing mutated blisterhead threats without burning scarce handgun ammo.
- Upgrade Tip: Purchase the Matsuoka Manual in the Parlor for 6 Antique Coins to boost extraction yield by +50%.
Leon’s Heavy Arsenal
- Matilda Handgun (Custom VP70): Leon’s reliable starter sidearm.
- Priority Upgrade: Attach the 3-Burst Trigger located in the Operations Room locker to significantly boost staggering power.
- Tactical Hatchet: Leon’s primary melee weapon used for parrying incoming attacks, executions, and breaking open wooden cabinets Grace cannot bypass.
- Requiem Revolver (.44 Magnum): Delivers massive single-target damage capable of stopping boss charges in their tracks. Unlocked in the Lower Sanatorium using the Master Keycard.
🏆 Unlocking Infinite Ammo & Special Content
Postgame unlockables are purchased in the Extra Content Shop using Challenge Points (CP) earned from completing in-game achievements:
- Infinite Ammo (All Weapons): Clear the main campaign on Hardcore or Insanity difficulty with an ‘S’ Rank (finish under 3 hours with 5 or fewer manual typewriter saves).
- Indestructible Combat Hatchet: Locate and destroy all 25 Mr. Raccoon statues hidden across a single playthrough.
- Chicago Typewriter: Clear the campaign on any difficulty without using a single healing item.
💡 Planning your full 2026 gaming calendar? Keep up with all upcoming AAA launch windows and platform news on our 2026 Video Game Release Schedule.
Related Resident Evil Requiem Guides
- Resident Evil Requiem: All Puzzle Solutions
- Resident Evil Requiem: All Weapons & How to Unlock Them
- Resident Evil Requiem: All Mr. Raccoon Locations
- Resident Evil Requiem: Complete Walkthrough
- Resident Evil Requiem: All Endings & How to Unlock Them
- Resident Evil Requiem: All Safe Codes & Combinations